
Sendible offers a few features ideal for franchise businesses wanting to leverage the power of social media across all of their locations.
When developing these new features, we wanted to make it as easy as possible for large chains to manage social media for each of their stores.
The article below explains how franchises can leverage Sendible's social media dashboard to manage social media for multiple locations:
- How to write the same post once and insert custom content for each location
- How to sign off content at the head office before a location publishes content
- How can head office publish content on behalf of a location
- How can head office access reports across all of their stores/locations
1. How to write the same post once and insert custom content for each location
Sendible makes it possible for users to define custom tags that can be assigned at a store/location level or at a social media account level.
These custom tags act as placeholders at the time messages/posts are composed and are replaced with actual values at the time the message is actually sent. To define custom merge tags for social media accounts, follow the steps below.
- Sign in to your Sendible account and click on Manage > Admin > Custom Fields.
- Select on the left-hand-side- the type of merge tag you will be creating. Options are "Contact", "User" or "Channel" and dictate where these merge tags can be used. For this example, use "Channel".
- Create a new custom field/merge tag, by clicking New Field.
- A new dialog will open up and you'll be able to enter custom capture information.
- Click Save to add your first merge tag. To add more, repeat the process from c above.
- Now that you've added a few custom tags, you can populate the fields. Since we've added channel tags, we can add tags at the account level.
- To do this, Services + > My Services. For each of your social network accounts, click the "Tag" button and fill in the relevant information.
- Now that you've added information for each account, you can compose a message and insert merge tags to be replaced with the relevant content at the time your message is sent.
- Go to the Compose Message Box tab and click the book icon > Placeholders. You'll see a dialog window with multiple tags, grouped by category.
- You can insert tags into your message by clicking on the relevant item from the list.
- When you're ready, you can select as many social media services as you like and the merge tags will be replaced with the appropriate content at the time of sending.
2. How to sign off content at the head office before a location publishes content
Head office is often required to approve content before it gets published to a franchise's social network accounts. Sendible's workflow features make it possible for you to define approval workflows, assign tasks and make sure content is approved and signed off before it gets published to the social web. To create a workflow, follow the steps below:
- Go to MANAGE > Admin > Users.
- Click on the user/location in your list who needs approval before content can be published.
- Under "Approval Workflow", click "Edit" to be able to define which user needs to approve posts before they get published.
3. How can head office publish content on behalf of a location
Sendible's powerful social media dashboard makes it possible for users to share their social network accounts with other users.
In the franchise scenario, the head office has the ability to create each of their locations, set up each of their social network profiles and then share these accounts with team members who need to be able to publish to these accounts. The way to set this up using Sendible is as follows:
- After creating your location instances within My Users, switch to each location's account and set up their social media profiles for them.
- Once you've done this, go to Services + > My Services and use the Sharing button to share these services with the head office user.
- This will allow head office to post updates on behalf of the location from within their Message Box.
4. How can head office access reports across all of their stores/locations
Sendible's social media analytics features provide you with aggregated reports across each of the franchise's locations. To access printable reports for individual locations or across the entire franchise, you can do this as follows:
- Go to Measure.
- Click Export > Users
- Click on either or specific user accounts or your admin account to get reports for all users

Try Sendible free with 14-day free trial.
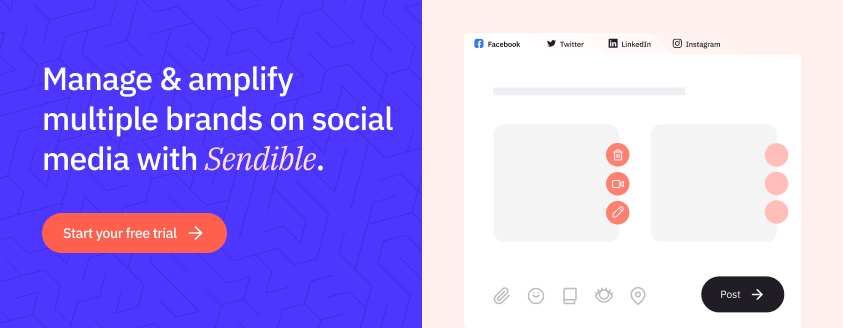
Leverage Sendible’s extensive integrations to create, schedule, publish, and engage with your posts seamlessly.

Text copied!